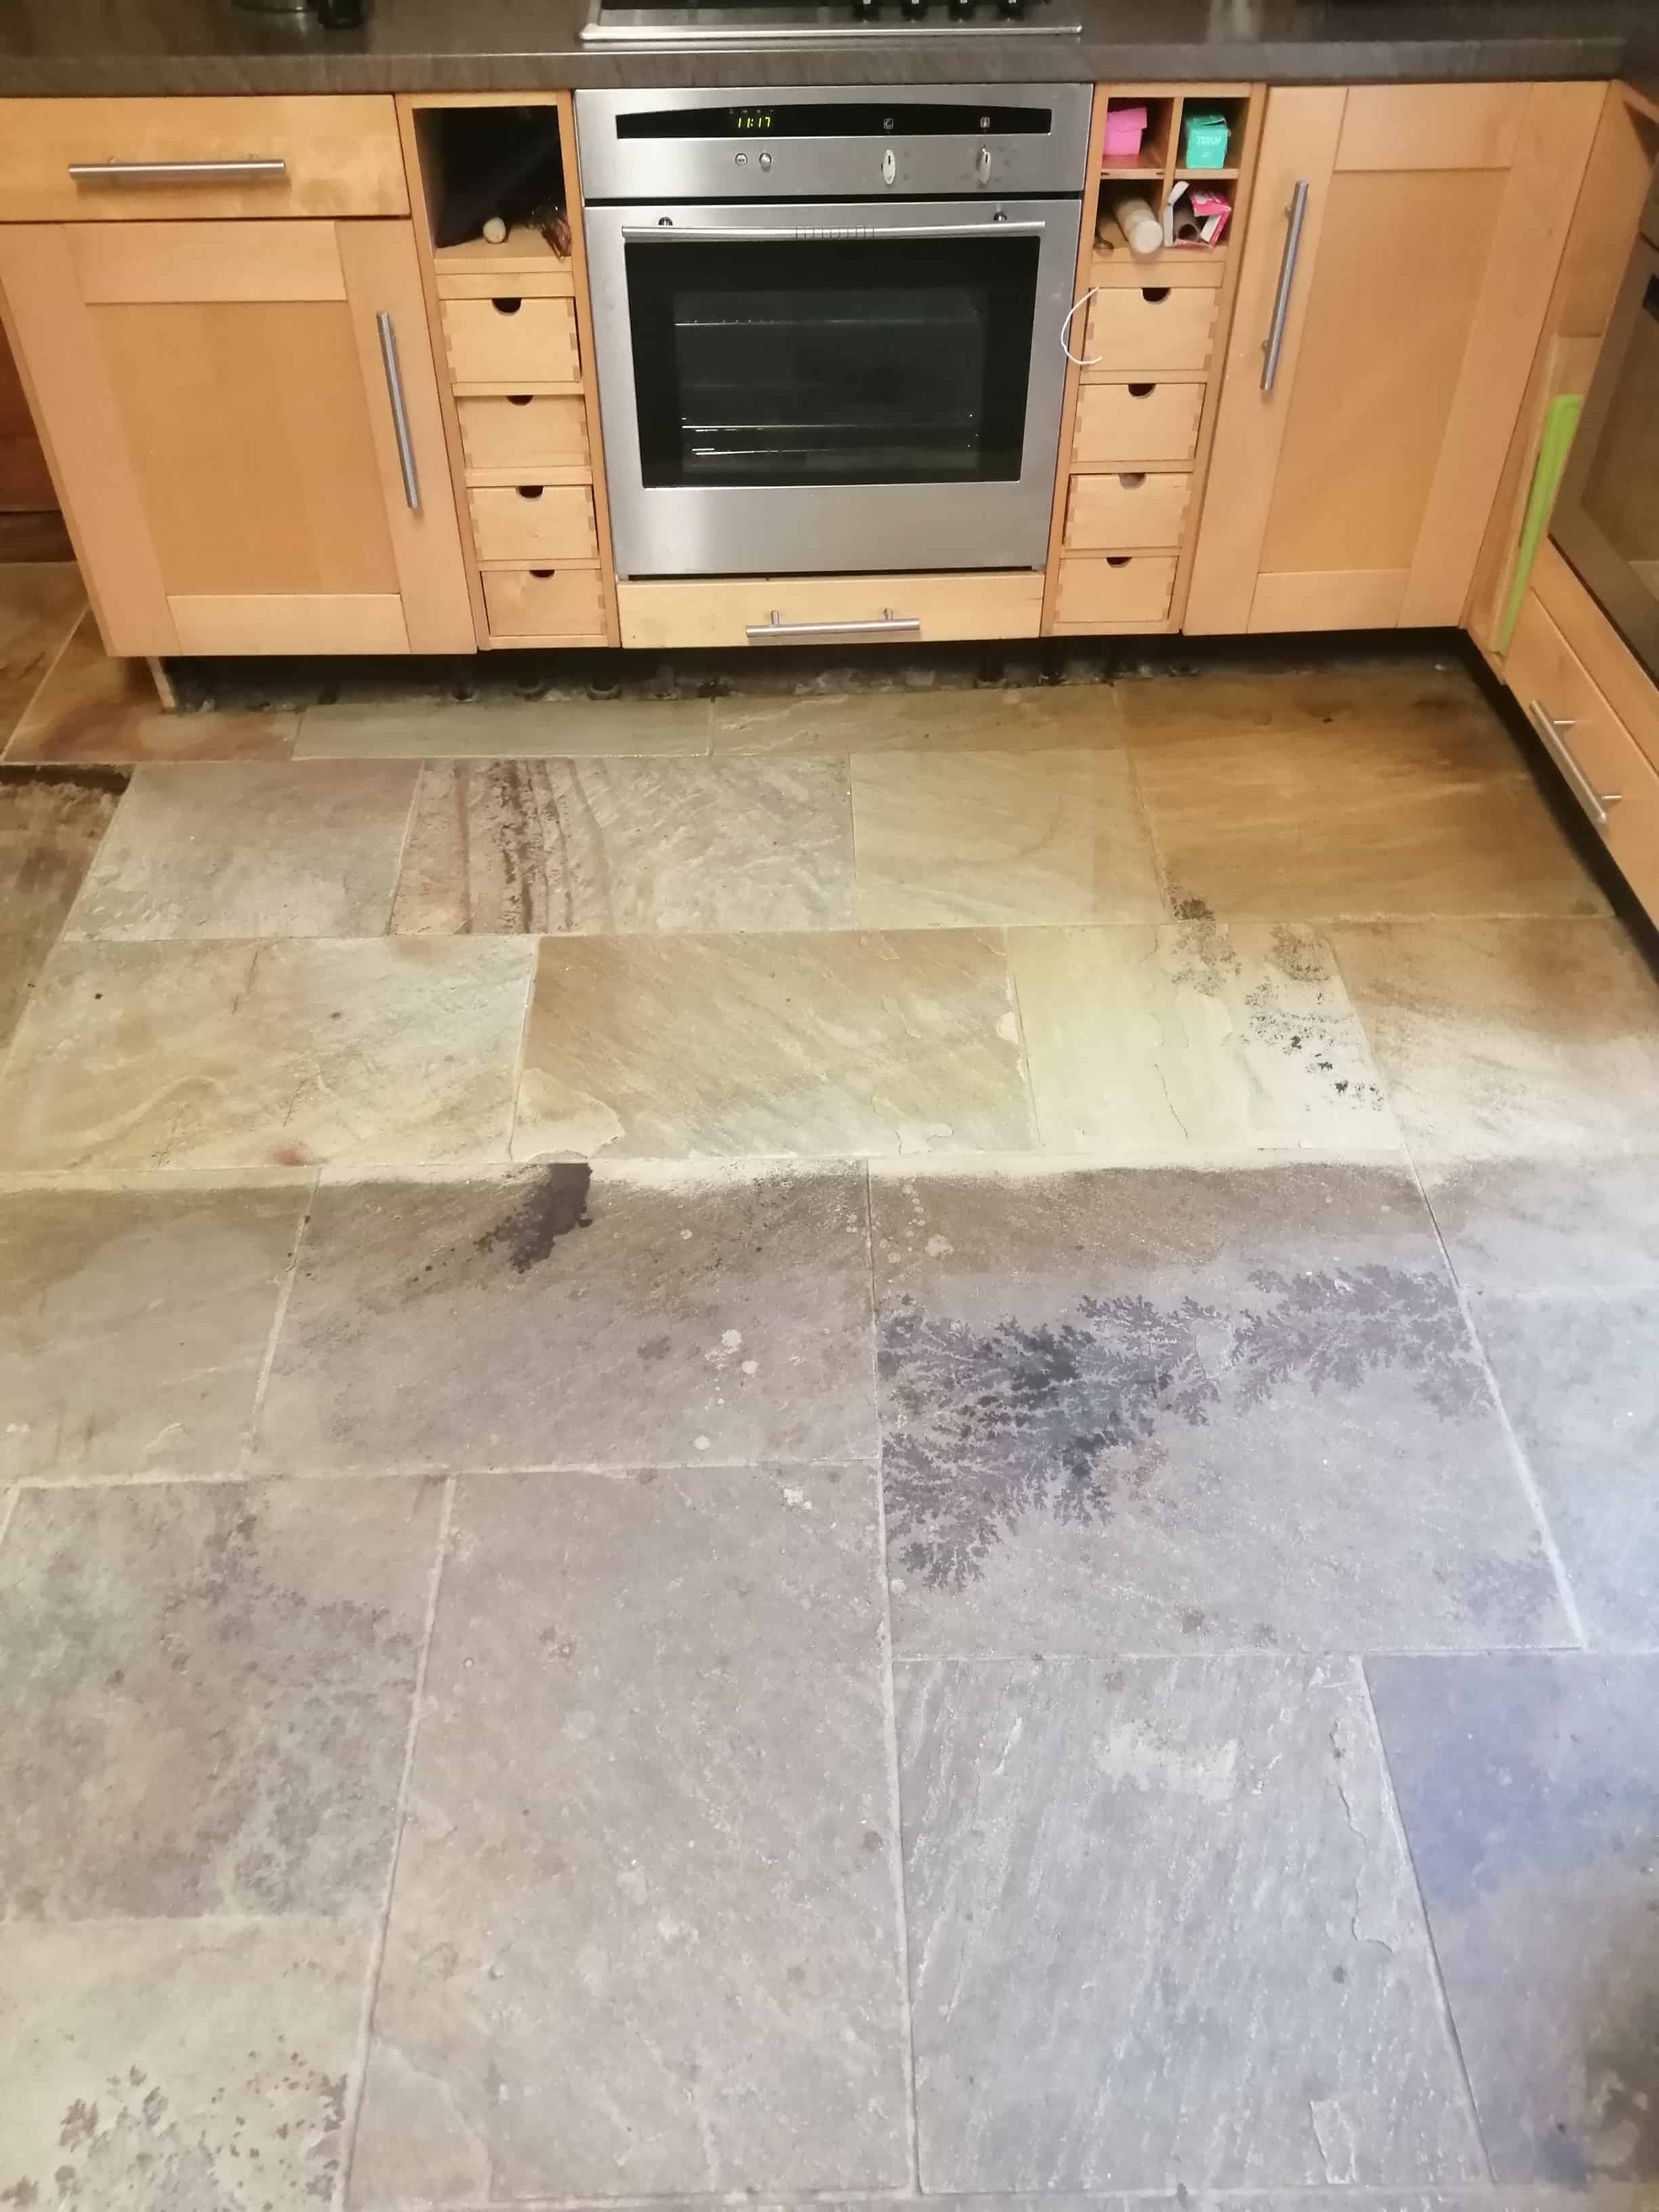
The Fossil Sandstone floor pictured was installed in the kitchen of a property in Newport South Wales. The grout was originally a matching Sandstone colour, but it had been some time since the installation and now the stone and the grout had darkened with wear and ingrained dirt. The Sandstone itself was really grubby and the unique and beautiful fossils imprinted in the stone were barely recognisable.

Unhappy with the appearance of their stone floor and aware of our reputation from a friend, the owner got in touch to see what could be done and to get a quote for renovating the floor. I arranged to visit and conduct a survey and could immediately see that the protective sealer had long since worn off and not the stone was very dirty with ingrained dirt ruining its appearance.
Before creating a quote, I conducted a couple of cleaning tests on a small inconspicuous section of stone and grout to work out the best method and products to restore its appearance. Once I had worked out the best approach, I provided a quote for the renovation, and they agreed to go ahead.
Cleaning a Fossil Sandstone Tiled Kitchen Floor
I had found the most effective method for cleaning this floor was to start by applying a combination of Tile Doctor Nanotech HBU Cleaner with the same amount of Tile Doctor Pro-Clean. HBU stands for Heavy Build-Up which pretty much described the problem I was facing here however both products and versatile stone and grout cleaning products. The solution was applied to 2 square meters of floor at a time and given a light scrub with a handheld scrubbing brush paying specific attention to the grout.

The solution was left to soak into the floor for about five minutes and then with clean warm water added to the surface by a sponge from a bucket and then agitated with the scrubbing brush. It took quite a while as we were working on a small area at a time. But by working methodically it wasn’t long before it was completed.

The grout joints were also scrubbed in the same way as the stone. As we cleaned the controlled areas the waste dirt was then vacuumed up. We then rinsed twice with fresh clean water, vacuuming the liquid waste away so as not to let the dirty water soak back into the tile. Afterwards the floor was inspected, and the process repeated until I was satisfied it was as clean as possible. The floor was then left to dry overnight.

Sealing a Fossil Sandstone Tiled Kitchen Floor
On my return the sandstone tiles were tested for moisture using a damp meter. I wanted to ensure that it was dry enough to apply a sealer and I don’t recommend applying a sealer to a damp floor as the new seal won’t cure and I’d probably get a call back.
The preferred sealer was Tile Doctor Colour Grow which is a colour enhancing impregnator that soaks into the pores of the stone to create a durable barrier that will prevent future staining and to make maintenance easier. Several coats were applied, allowing each one to dry before applying the next.
The clients were not home during the work being carried out as they went on a short break.
On their return they had a lovely surprise to see their floor looking in tip top condition.
They left a glowing feedback report to Tile Doctor stating their delight with the result. Another happy client!

Unfortunately, I forgot to get a final picture of the finished floor for this post however I did leave them a bottle of Tile Doctor Neutral Cleaner for aftercare cleaning.


Never use a strong cleaning product or steam cleaner for the regular cleaning of sealed tiles as this will reduce the life of the sealer. We recommend using a specialist tile cleaning product such as Tile Doctor Neutral Tile Cleaner for the regular cleaning of sealed Sandstone tiles. If you do use another product always read the label first, most supermarket tile cleaners are only suitable for use on Ceramic, Porcelain or Vinyl tiles.