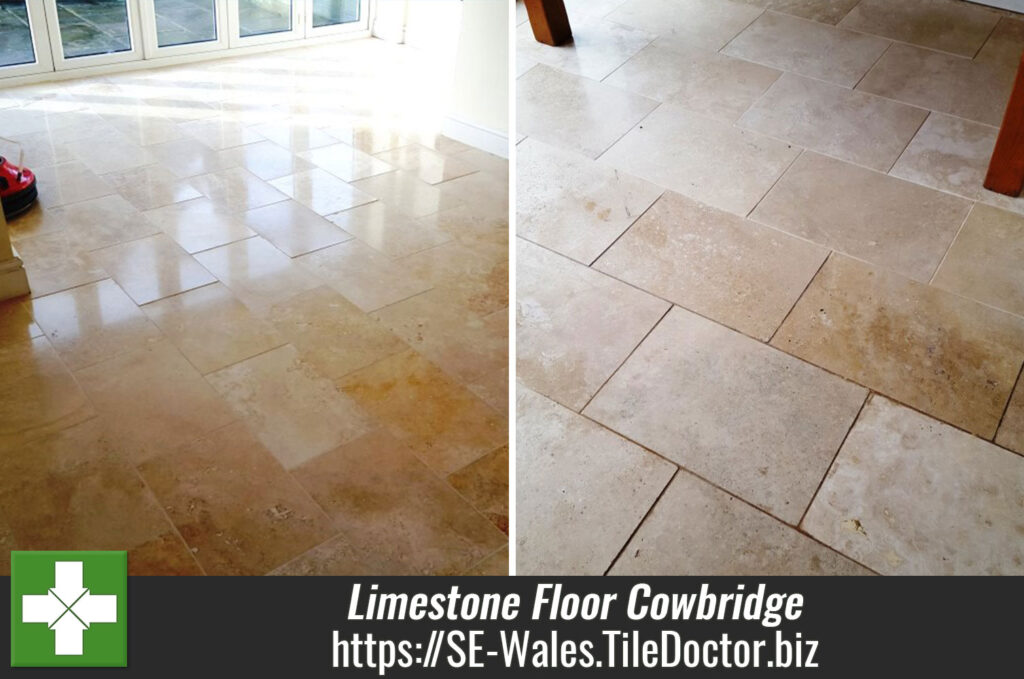
Restoring the Appearance of Bleach Damaged Stone Tiling in Cowbridge
Last year we were approached by a customer in the market town of Cowbridge looking for a professional bathroom restorer to renovate their stone tiled bathroom. Apparently, their cleaner had etched the tiles using neat bleach unaware of the damage a strong product like that could have on natural stone.

I arranged to call in on the customer the next time I was in the area to discuss the work and take a close look at the tiling. Three different types of stone had been used in the bathroom with Limestone wall tiles in the shower, Black Marble mosaics formed the shower tray and bath panelling, and the floor had been laid with Black Slate.
Having discussed the bathroom at length with the customer it was clear that their main concerns were that the stone had lost its shine, the grout had discoloured, and a lot of the silicone was stained and needed replacing. I worked out a comprehensive plan to revive the bathroom and created a detailed quotation to do the work that listed all the necessary work. My customer was happy with the quote, and I got the go ahead to book the work in.
 |
 |
Renovating a Stone Bathroom Tiles
Before starting the cleaning, I spent some time protecting the fragile surfaces that didn’t need attention with protective sheeting.

Next the shower Tile and grout was scrubbed with a strong dilution of Tile Doctor Pro-Clean and a Black pad that I had cut down so it could be used by hand. The shower walls were then rinsed with water using the shower head which is one of the convenient advantages of working in a shower.
Focus then shifted to the Black Mosaic tiles on the floor of the shower using more Pro-Clean this time mixed with Nanotech HBU for extra cleaning power. This was scrubbed into the grout joints with a brush and a Black pad for the tile surface. I used the same process on the Marble mosaic bath panel. Once done the tiles were rinsed with water.
The next step was to cut out the silicone sealant around the permitter of the shower tiling and spray the area with Tile Doctor Duo Clean which kills mould. Once dry the silicone was replaced with a new anti-mould silicone.

The shower enclosure tiles were then sealed with Tile Doctor Pro-Seal a durable sealer that doesn’t alter the appearance of the stone. The customer liked the light appearance of the Limestone and wanted to keep it that way.

Refreshing Black Slate Bathroom Flooring
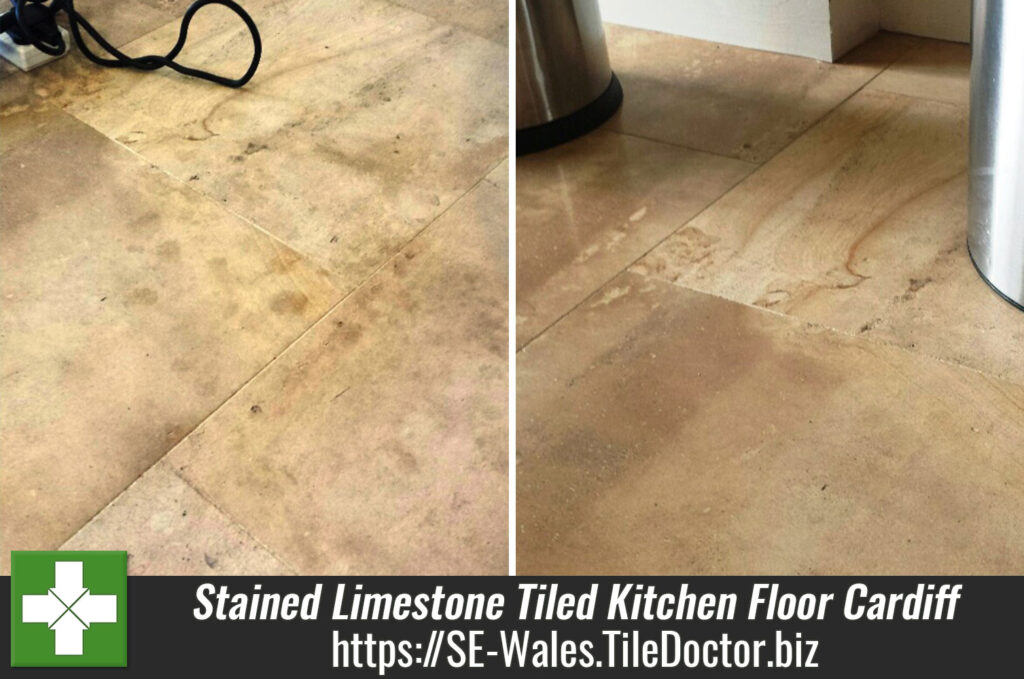
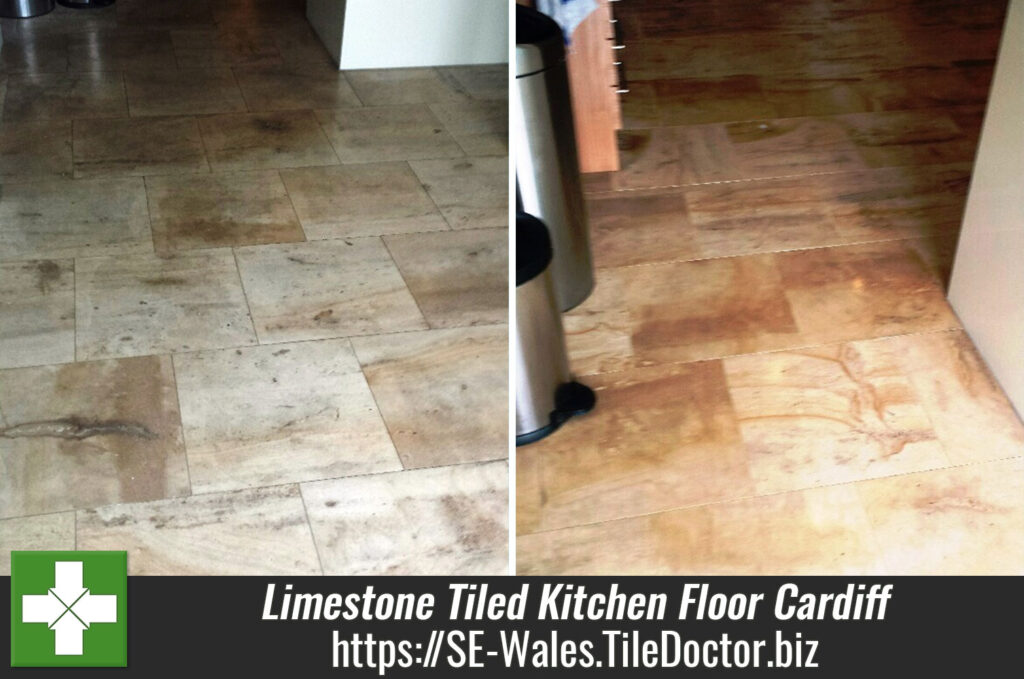
The last area to focus on were the Black Slate tiles on the bathroom floor which were also in a similar worn condition. The old sealer had clearly broken down on these and was now letting dirt become ingrained in the stone reducing the vibrant appearance of the Black Slate. I tread this by removing what was left of the original sealer with an application of Remove and Go mixed with Nanotech HBU and Pro-Clean. I left this cleaning cocktail to dwell for about half an hour before scrubbing with a coarse black pad and scrubbing brush.
The floor was then rinsed with water to remove the soiling and now looked much improved. Once dry it was sealed with Tile Doctor Colour Grow which is an impregnating sealer that contains a colour enhancer and provides a durable finish especially in bathrooms. This worked out very well on the Slate helped to add depth to the stone as well as bringing out more of the features in the stone.

The customers were delighted with the result and I’m please to say the service, in fact they have since recommended Tile Doctor to their friends, colleagues and family.
Marble Tiled Shower Cubicle Professionally Refinished in South Wales
Restoring the Appearance of Bleach Damaged Stone Tiling in Cowbridge Read More »